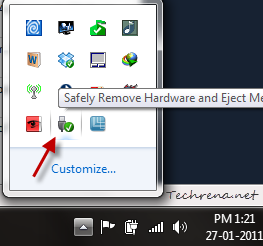
What do you do to remove your plugged in USB device like flash drive? You need to move your mouse to the system tray and locate the small USB icon “Safely Remove Hardware and Eject Media” (in case of Windows 7 and Vista) and click on it and confirm that you want to remove or stop a particular USB device.
But even though it is simple, it is often tiresome as you need to expand the arrow in the tray and locate the small icon (Windows 7). This where you wish you had a shortcut at some other easily accessible place. A desktop shortcut for this “Safely Remove Hardware” dialog would be much more handy. If you are like me, get to know how to create a Safely Remove Hardware shortcut in Windows 7 and Vista by following these steps.
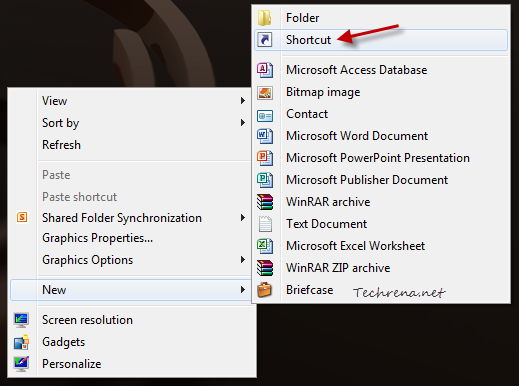
1. Right-click on your desktop, choose New > Shortcut.
2. In the next window, paste the following code in the “location of the item”
%windir%\system32\rundll32.exe shell32.dll,Control_RunDLL hotplug.dll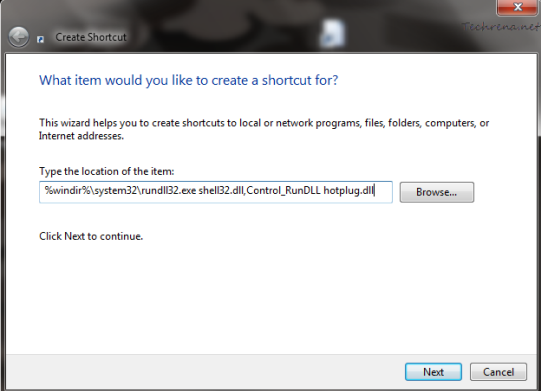
Click the “Next” button to continue to the next step.
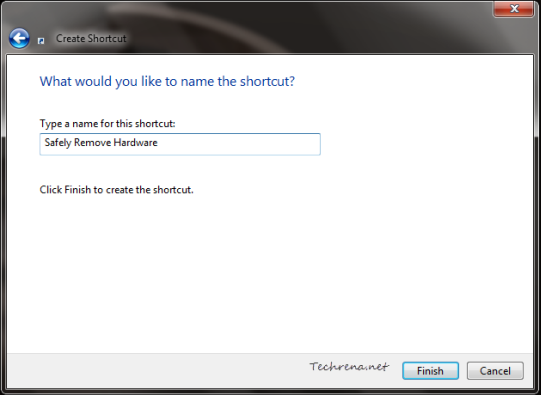
3. Give the shortcut a meaningful name and click the “Finish” button to complete the setup.
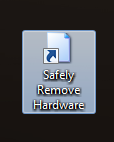
4. The new shortcut icon appears on your desktop.
If you have plugged in the USB flash drive, double-click on the shortcut icon to see if it works. It should open the Safely Remove Hardware window, showing you the list of currently plugged in devices (USB and non-USB as well).
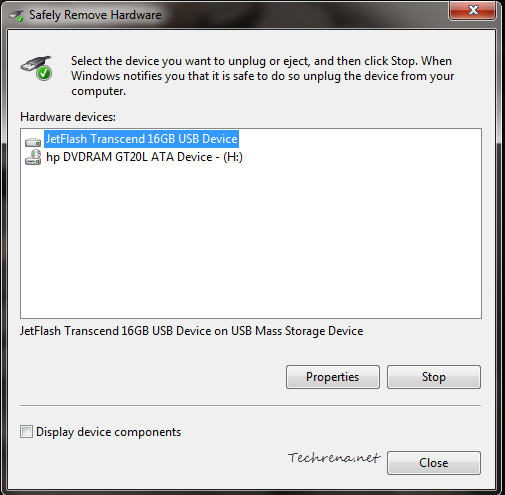
Select the particular device that you want to unplug or remove and click the “Stop” button to stop the device.
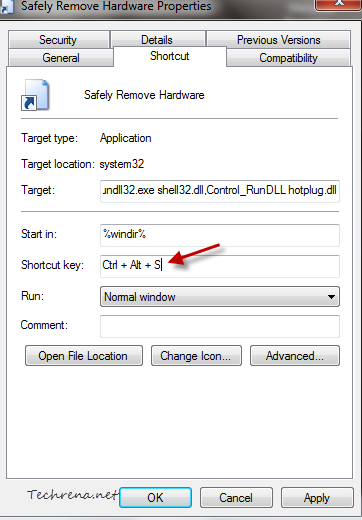
The advantage with this kind of shortcut trick is that you can choose to have a shortcut key setup for even more quicker access.
To assign a shortcut for the Safely Remove Hardware shortcut, just right-click on the shortcut and choose a unique keyboard key combination to assign as hotkey.
